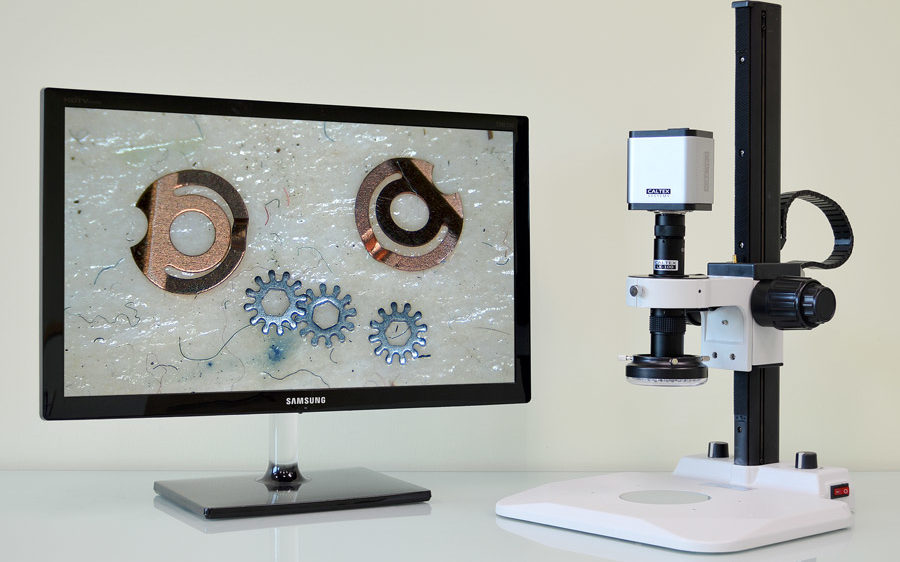
Compare Different Measurement Systems
There are several non-contact measurement methods for the advanced manufacturing process. Here, we try to make selecting the right measurement system easy and clear by guiding you through some key questions to ask about what you need to do with the system. The questions include your applications, different measurement approaches, and system limitations.
How do I select the right measurement system for my application?
What are the key criteria for comparing and selecting the right measurement system for your application? What is the right measurement system for my applications? The right system depends on what you need to do and how much budget you have allocated for it. We attempt to provide some guidelines to help you select the right measurement model based on many frequently asked questions we received.
Key Questions to Ask
- What is the largest part size you need to measure?
- What measurement accuracy do you need to have?
- How frequently or infrequently will you measure your sample parts?
“Field Of View” Measurement System
Typically, dimensional measurement systems can be categorized into two groups. The first category is the “Field Of View” measurement system, in which the model can measure anything that is put within the viewing area by appropriate zoom magnification. For example, you need to measure a small device of 2mm with features of about 100 microns, then you can put your sample under any field of the view measurement system, adjust proper zoom, and use mouse click to measure the features quickly. Or you need to measure a large part of 2 inches, you can still use the “field of view” measurement system with a “reducer” lens adapter to get the whole part into the field of view for quick measurement.
All of these models work on the same principles but each offers different zoom magnification range and optic design. Therefore, select the right model on how large or small the part you need to measure, how often you will be measuring it on a daily or weekly basis, and how much budget you have. Our systems capable of doing “field of view” measurement are: BX3, EX80, VIP50, LX70, LX100, VZM200, and LX1000HP.Below is a quick summary of these models in an easy to understand table.
What if my part size is larger than 4 inches? Please scroll down to the VMS and AMS section.
Quick Comparison Table
Below are all models of “Field Of View” Measurement Systems
| Model | Photo | Camera | Zoom Magnification | Field of View Range | Price Range |
| BX3 | 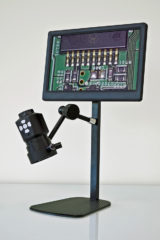 |
3.5MP |
|
|
$795 |
| EX80 | 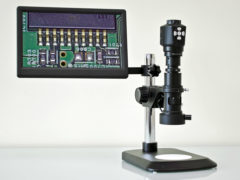 |
3.5MP |
|
|
$1,500+ |
| VIP50 | 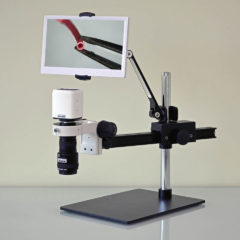 |
6.0MP, Auto-Focus |
|
|
$3,000+ |
| LX70 | 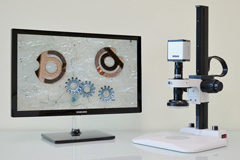 |
6.0MP, Auto-Focus |
|
|
$3,000+ |
| LX100 | 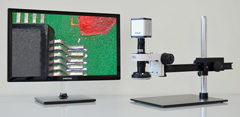 |
6.0MP, Auto-Focus |
|
|
$3,000+ |
| VZM200 |  |
6.0MP, Auto-Focus |
|
|
$5,000+ |
| LX1000HP | 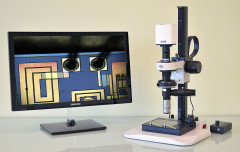 |
6.0MP, Auto-Focus |
|
|
$5,000+ |
| IMS series | 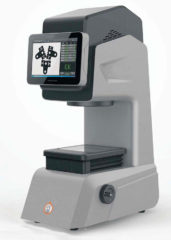 |
5MP, High Depth of Focus |
|
|
$30K+ |
|
* Denotes the standard zoom range included in the basic system. Optional zoom denotes Optional Lens Adapters available to expand the zoom range. |
|||||
VMS and AMS
If your part size is large and you need to measure at high accuracy, for example, your sample size is 4 inches or larger, and the accuracy requirement is 1 micron, then you should consider the Coordinate Measurement System (CMS) or some people call Coordinate Measurement Machine (CMM). These measurement systems are equipped with encoded XY stage and Z column travel to measurement the part size as large as the travel range of the stage according to the encoder resolution. For example, if the XYZ travel range is 8″ x 4″ x 8″ with 1-micron encoder, then you can measure any part size up to 8 inches with 1-micron resolution throughout.
The limitation of measurement part size is not by the field of view anymore, but by the travel range of the XY stage. The encoders come in different resolutions such as 1 micron, 0.5 microns, or 0.2 microns as an example. The common encoder resolution is 1 micron for the sweet spot of its performance and price.
XYZ travel can be manual or motorized. If it’s a motorized measurement system, then the movement of XYZ travel is also programmable and automated by the computer’s control. Our VMS model is the representative of a manual coordinated measurement system whereas AMS is the automated, motorized, and programmable version of a coordinated measurement system. The number after VMS or AMS represents the XYZ travel range. If you determine your applications call for coordinated measurement capabilities, below is a quick overview of different models for your comparison.
Quick Summary for Coordinate Measurement Machines
| Model | Photo | Measurement Range | Movement | Zoom Magnification | Price Range |
| VMS-848 |  |
|
|
|
$12k |
| VMS-1288 |  |
|
|
|
$14k |
| VMS-16128 |  |
|
|
|
$15k |
| VMS-845AZ |  |
|
|
|
$17k |
| AMS-300 |  |
|
|
|
$24k |
| AMS-400 |  |
|
|
|
$26k |
| AMS-500 |  |
|
|
|
$29k |
We truly hope the information above aid in your selection of the right measurement system. However, if you have any questions, we look forward to discussing them with you in detail. Please do not hesitate to call (949) 788-0101, or email us at office@caltexsystems.com.

